Table of Contents
How to Make Nutter Butter Cookies at home? These Nutter Butter Cookies are a classic peanut butter treat, loved for their crispy texture and creamy filling. Instead of store-bought, why not try making Nutter Butter Cookies from scratch?
In this guide, you’ll learn how to make Nutter Butter Cookies with simple ingredients and easy steps. Whether you’re baking for a special occasion or just craving a delicious snack, homemade Nutter Butter Cookies are the perfect choice. From mixing the dough to creating that signature peanut shape, this recipe will show you exactly how to make Nutter Butter Cookies at home.
Ingredients for Homemade Nutter Butter Cookies
Ingredients for the Cookie Dough
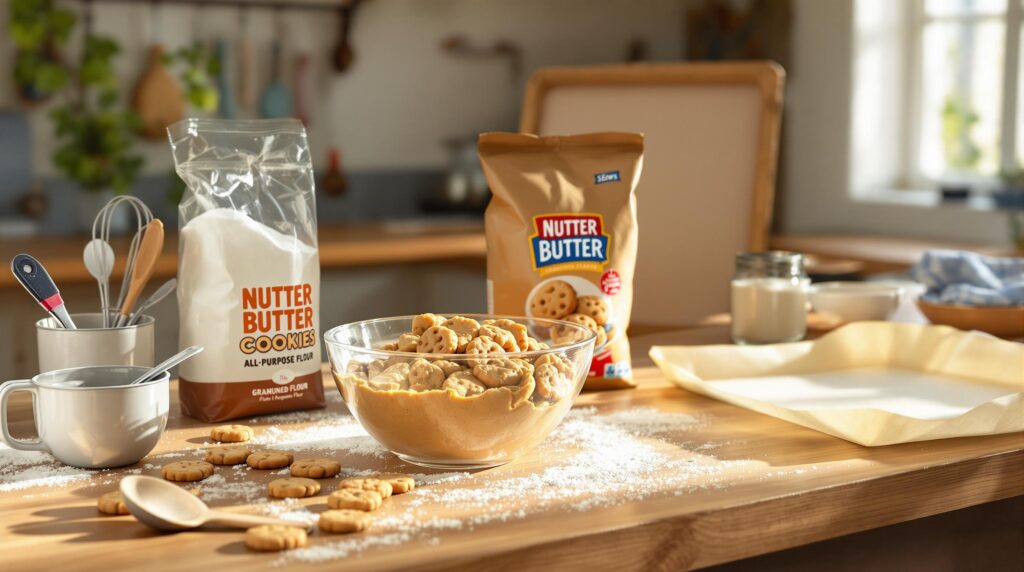
To make the crispy, peanut-flavored cookie base, you’ll need the following ingredients:
- 1 cup peanut butter (creamy, unsweetened for best results)
- 1 cup granulated sugar
- 1/2 cup unsalted butter, softened
- 1 large egg
- 1 1/2 cups all-purpose flour
- 1/2 teaspoon baking soda
- 1/4 teaspoon salt
- 1 teaspoon vanilla extract
Ingredients for the Peanut Butter Filling
The filling is the star of the show! Here’s what you’ll need to create the creamy peanut butter center:
- 1 cup peanut butter
- 1/2 cup powdered sugar
- 1 teaspoon vanilla extract
Necessary Tools and Equipment
Tools You’ll Need for Baking
Having the right tools ensures a smooth and enjoyable baking experience. For this recipe, you’ll need:
- Mixing bowls (one for the cookie dough and one for the filling)
- Hand or stand mixer (for creaming the ingredients)
- Measuring cups and spoons (for precise measurements)
- Silicone spatula (to scrape every bit of dough and filling)
- Rolling pin (to flatten the dough evenly, if needed)
- Cookie cutter (an oval or peanut-shaped cutter works best)
- Baking sheet (lined with parchment paper for easy cleanup)
- Wire rack (for cooling the cookies after baking)
Prep Tips for the Perfect Setup
- Chill the Dough: Chilling the cookie dough for 15–30 minutes helps it hold its shape better when baking.
- Preheat the Oven: Always preheat the oven to 350°F (175°C) to ensure even baking.
- Prepare Parchment Paper: Line your baking sheets to prevent sticking and make cleanup easier.
With your ingredients and tools ready, you’re all set to start baking your homemade Nutter Butter cookies!

Step-by-Step Recipe Instructions
1: Prepare the Cookie Dough
- Cream the Butter and Sugars:
In a large mixing bowl, use a hand or stand mixer to cream together the softened butter, granulated sugar, and peanut butter until light and fluffy. This usually takes about 2–3 minutes. - Add the Egg and Vanilla Extract:
Beat in the egg and vanilla extract until fully incorporated. - Mix the Dry Ingredients:
In a separate bowl, whisk together the all-purpose flour, baking soda, and salt. - Combine Wet and Dry Ingredients:
Gradually add the dry ingredients to the wet mixture. Mix until a soft dough forms. Avoid overmixing to keep the cookies light and tender. - Chill the Dough:
Cover the dough and chill it in the refrigerator for 15–30 minutes. This makes it easier to shape the cookies and prevents spreading during baking.
2: Shape and Bake the Cookies
- Preheat the Oven:
Preheat your oven to 350°F (175°C) and line your baking sheets with parchment paper. - Shape the Cookies:
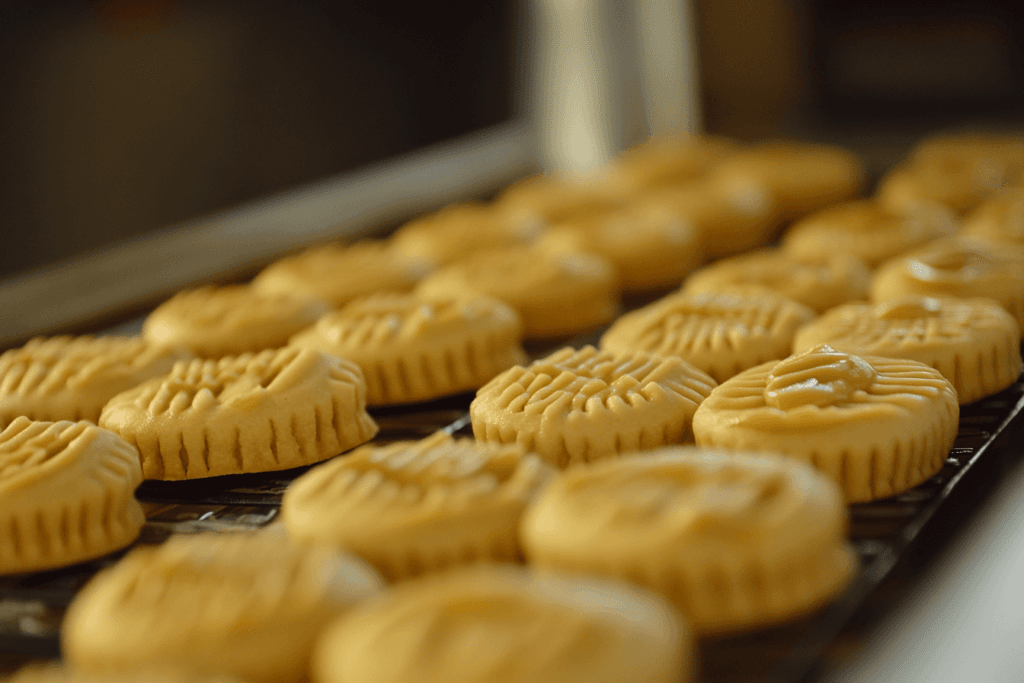
Roll the dough into small balls (about 1 tablespoon each). Flatten each ball into an oval shape and use a fork to create crisscross ridges on the surface, mimicking a peanut shell. - Bake:
Place the shaped cookies on the prepared baking sheet, leaving about 1 inch of space between them. Bake for 10–12 minutes, or until the edges are golden brown. - Cool:
Remove the cookies from the oven and let them cool on the baking sheet for 5 minutes. Transfer them to a wire rack to cool completely.
3: Prepare the Peanut Butter Filling
- Mix the Filling Ingredients:
In a medium bowl, whisk together the peanut butter, powdered sugar, and vanilla extract until smooth and creamy. Adjust the consistency by adding a little more powdered sugar if the mixture is too soft.
4: Assemble the Nutter Butter Cookies
- Add the Filling:
Once the cookies are completely cooled, spread a generous layer of the peanut butter filling onto the flat side of one cookie. - Sandwich the Cookies:
Place another cookie on top, flat side down, to create a sandwich. Gently press to seal without cracking the cookies. - Repeat:
Continue assembling until all the cookies are paired and filled.
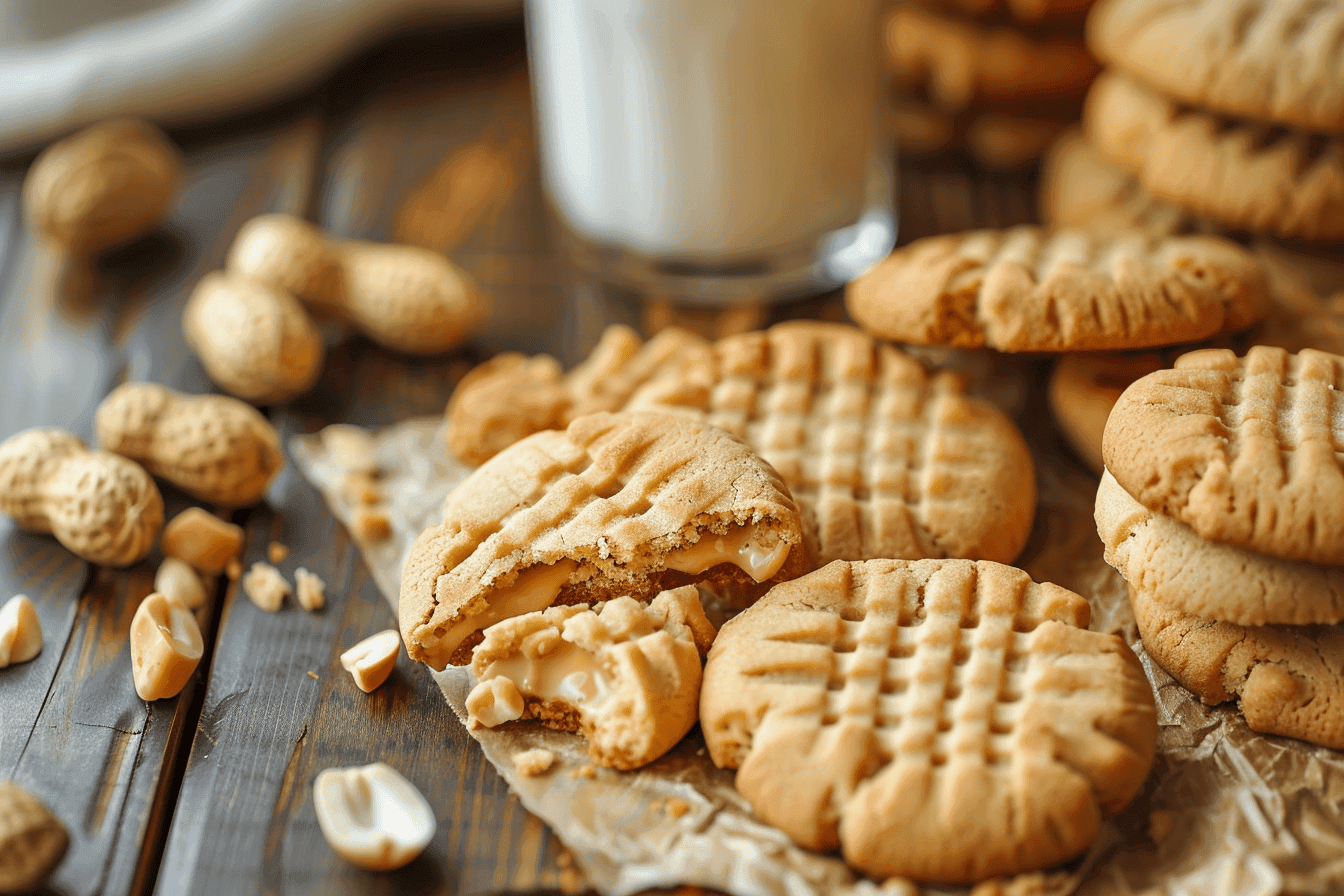
Now, you have your own homemade Nutter Butter cookies! Perfectly crispy, creamy, and irresistibly peanut buttery.

Tips for Perfect Nutter Butter Cookies
Achieving the Right Texture
- For Crunchy Cookies: Bake the cookies a minute or two longer, keeping an eye on the edges to avoid overbaking.
- For Softer Cookies: Slightly underbake them, removing them from the oven as soon as the edges are set.
Shaping Like a Pro
- Use a Cookie Cutter: For a truly peanut-shaped cookie, use an oval or peanut-shaped cutter.
- Fork Marks for Authenticity: The crisscross pattern created with a fork adds a homemade charm and replicates the classic peanut shell design.
Prevent Filling from Oozing Out
- Ensure the cookies are fully cooled before adding the filling. Warm cookies can cause the filling to melt and slide out.
Creative Variations on the Recipe
Chocolate-Dipped Nutter Butter Cookies
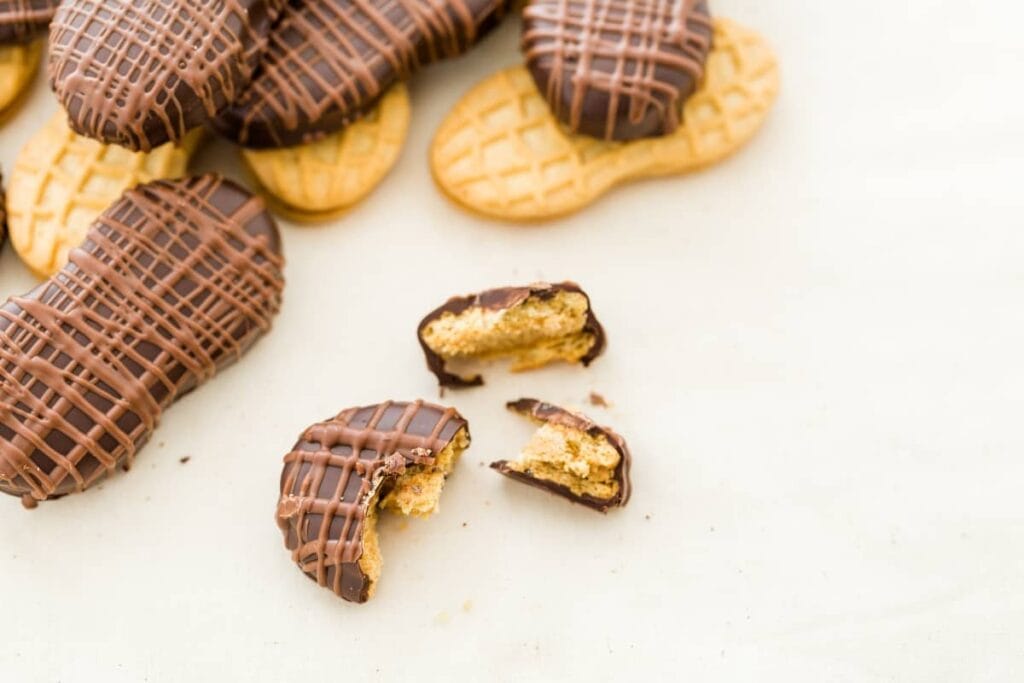
Dip one half of each assembled cookie into melted chocolate and let them set on parchment paper. For a festive touch, add sprinkles or crushed peanuts.
Mini Nutter Butter Cookies
Roll smaller dough balls and follow the same steps to create bite-sized versions. These are perfect for parties or snacks on the go.
Gluten-Free Nutter Butter Cookies
Substitute the all-purpose flour with a gluten-free flour blend. Ensure all other ingredients are certified gluten-free for a safe and delicious treat.
Spiced Peanut Butter Cookies
Add a pinch of cinnamon or nutmeg to the cookie dough for a warm, spiced twist.

Storing Homemade Nutter Butter Cookies
Room Temperature Storage
- Store the cookies in an airtight container at room temperature for up to a week. Place parchment paper between layers to prevent sticking.
Freezing Nutter Butter Cookies
- Freezing the Cookies Before Assembling: Bake the cookies and freeze them before adding the filling. Thaw and fill them as needed.
- Freezing Assembled Cookies: Wrap each cookie individually in plastic wrap, then place them in a freezer-safe bag or container. They’ll keep for up to 2 months.
Reviving Stored Cookies
- If the cookies lose their crunch after storage, warm them in a 300°F (150°C) oven for 2–3 minutes to restore their texture.
Common Mistakes to Avoid When Making Nutter Butter Cookies
Overmixing the Dough
Overmixing the cookie dough can make the cookies dense and tough. Once the dry ingredients are incorporated, stop mixing to maintain a tender texture.
Not Chilling the Dough
Skipping the chilling step can result in cookies that spread too much during baking. Chilling ensures the cookies hold their shape and bake evenly.
Filling Cookies While Warm
Adding the peanut butter filling before the cookies are completely cool can cause it to melt and become messy. Patience is key for neat and professional-looking cookies.
Uneven Baking
Placing cookies of different sizes on the same baking sheet can cause uneven baking. Roll the dough into evenly sized balls to ensure consistent results.
Using the Wrong Peanut Butter
Avoid natural peanut butter with separated oil, as it can make the dough too greasy. Use a creamy, stabilized peanut butter for the best results.
Troubleshooting Tips
Cookies Are Too Soft or Crumbly
- Fix: Bake for an additional 1–2 minutes to firm them up. Let them cool completely before handling.
Filling Is Too Runny
- Fix: Add more powdered sugar, a tablespoon at a time, until the filling thickens to the desired consistency.
Cookies Don’t Hold Their Shape
- Fix: Chill the dough longer, or add an extra tablespoon of flour if the dough is too sticky.
Cookies Taste Too Sweet
- Fix: Use unsweetened peanut butter in both the dough and the filling to balance the sweetness.
Frequently Asked Questions about Homemade Nutter Butter Cookies
Can I use crunchy peanut butter instead of creamy?
Yes, you can use crunchy peanut butter if you prefer a textured cookie. However, for the filling, creamy peanut butter works best to maintain a smooth consistency.
How do I make my cookies taste more like the original Nutter Butter?
To replicate the classic flavor, use high-quality peanut butter and add a tiny pinch of salt to the filling for a balanced sweet-and-salty taste. You can also experiment with a drop of peanut extract for an even richer flavor.
Can I make these cookies without eggs?
Yes! You can replace the egg with 1 tablespoon of flaxseed meal mixed with 3 tablespoons of water. Let it sit for 5 minutes to thicken, then use it as a substitute.
How can I make the cookies healthier?
To make healthier Nutter Butter cookies, use whole wheat flour, natural peanut butter, and honey or maple syrup as a sweetener. You can also reduce the sugar in the recipe slightly.
Can I freeze the cookie dough?
Absolutely! Roll the dough into balls, place them on a baking sheet, and freeze until solid. Once frozen, transfer them to a freezer-safe bag. When ready to bake, thaw slightly and proceed as usual.
What’s the best way to decorate these cookies for special occasions?
Dip the cookies in white or dark chocolate and add festive sprinkles or edible glitter for holidays, birthdays, or themed events.
Homemade Nutter Butter cookies are a delightful way to enjoy a timeless treat while adding your own creative twist. With their crispy, peanut-flavored shells and creamy filling, they’re perfect for everything from afternoon snacks to festive gatherings. Whether you stick to the classic recipe or try one of the suggested variations, these cookies are sure to impress family and friends.
So grab your apron, gather your ingredients, and get ready to bake up a batch of peanut butter perfection. With this guide, you’re just a few simple steps away from enjoying the rich flavors and nostalgic charm of homemade Nutter Butter cookies.
Now that you know how to make Nutter Butter cookies from scratch, you can enjoy this classic peanut butter treat anytime! Whether you’re making them for a nostalgic snack or a fun homemade dessert, they’re sure to be a hit. If you’re a peanut butter lover, don’t miss our Peanut Butter Cookies Easy Recipes Guide for more delicious variations. Looking for a quick and creamy peanut butter treat? Try our 3-Ingredient Peanut Butter Fudge for an effortless dessert.

